What is an Applique in embroidery design?
An appliqué is an ornamental needlework in which pieces of fabric in different shapes and patterns are sewn or stuck onto a larger piece to form a design. Attaching a variety of printed fabrics may create an interesting mix of contrasts, textures and colors. Sometimes this technique is used for filling parts of the drawing and therefore considerably reducing the total amount of stitches needed for the design, also reducing the time spent making it. This piece of fabric can be applied to either the front or the back of the design, and this choice will depend upon the use we want to give to the appliqué:- An appliqué on the back of the design it’s often used for avoiding the irritations caused by the friction of the fabric with the skin. Using a soft, printed fabric can be a good idea to make the garment look good and also comfortable to wear. These types of appliques are often seen on caps because their insides remain visible all the time. It’s also a good idea to apply this technique on pockets and any reversible clothing.
- The applique on the outside of the garment or in the front of the embroidery designs is usually seen on children clothing, since it adds a lot of color when using printed and textured fabrics. However, in my opinion this technique is versatile and can be applied to all kinds of designs, for all ages. It even allows saving time when covering a big surface is needed (like a desing’s background).
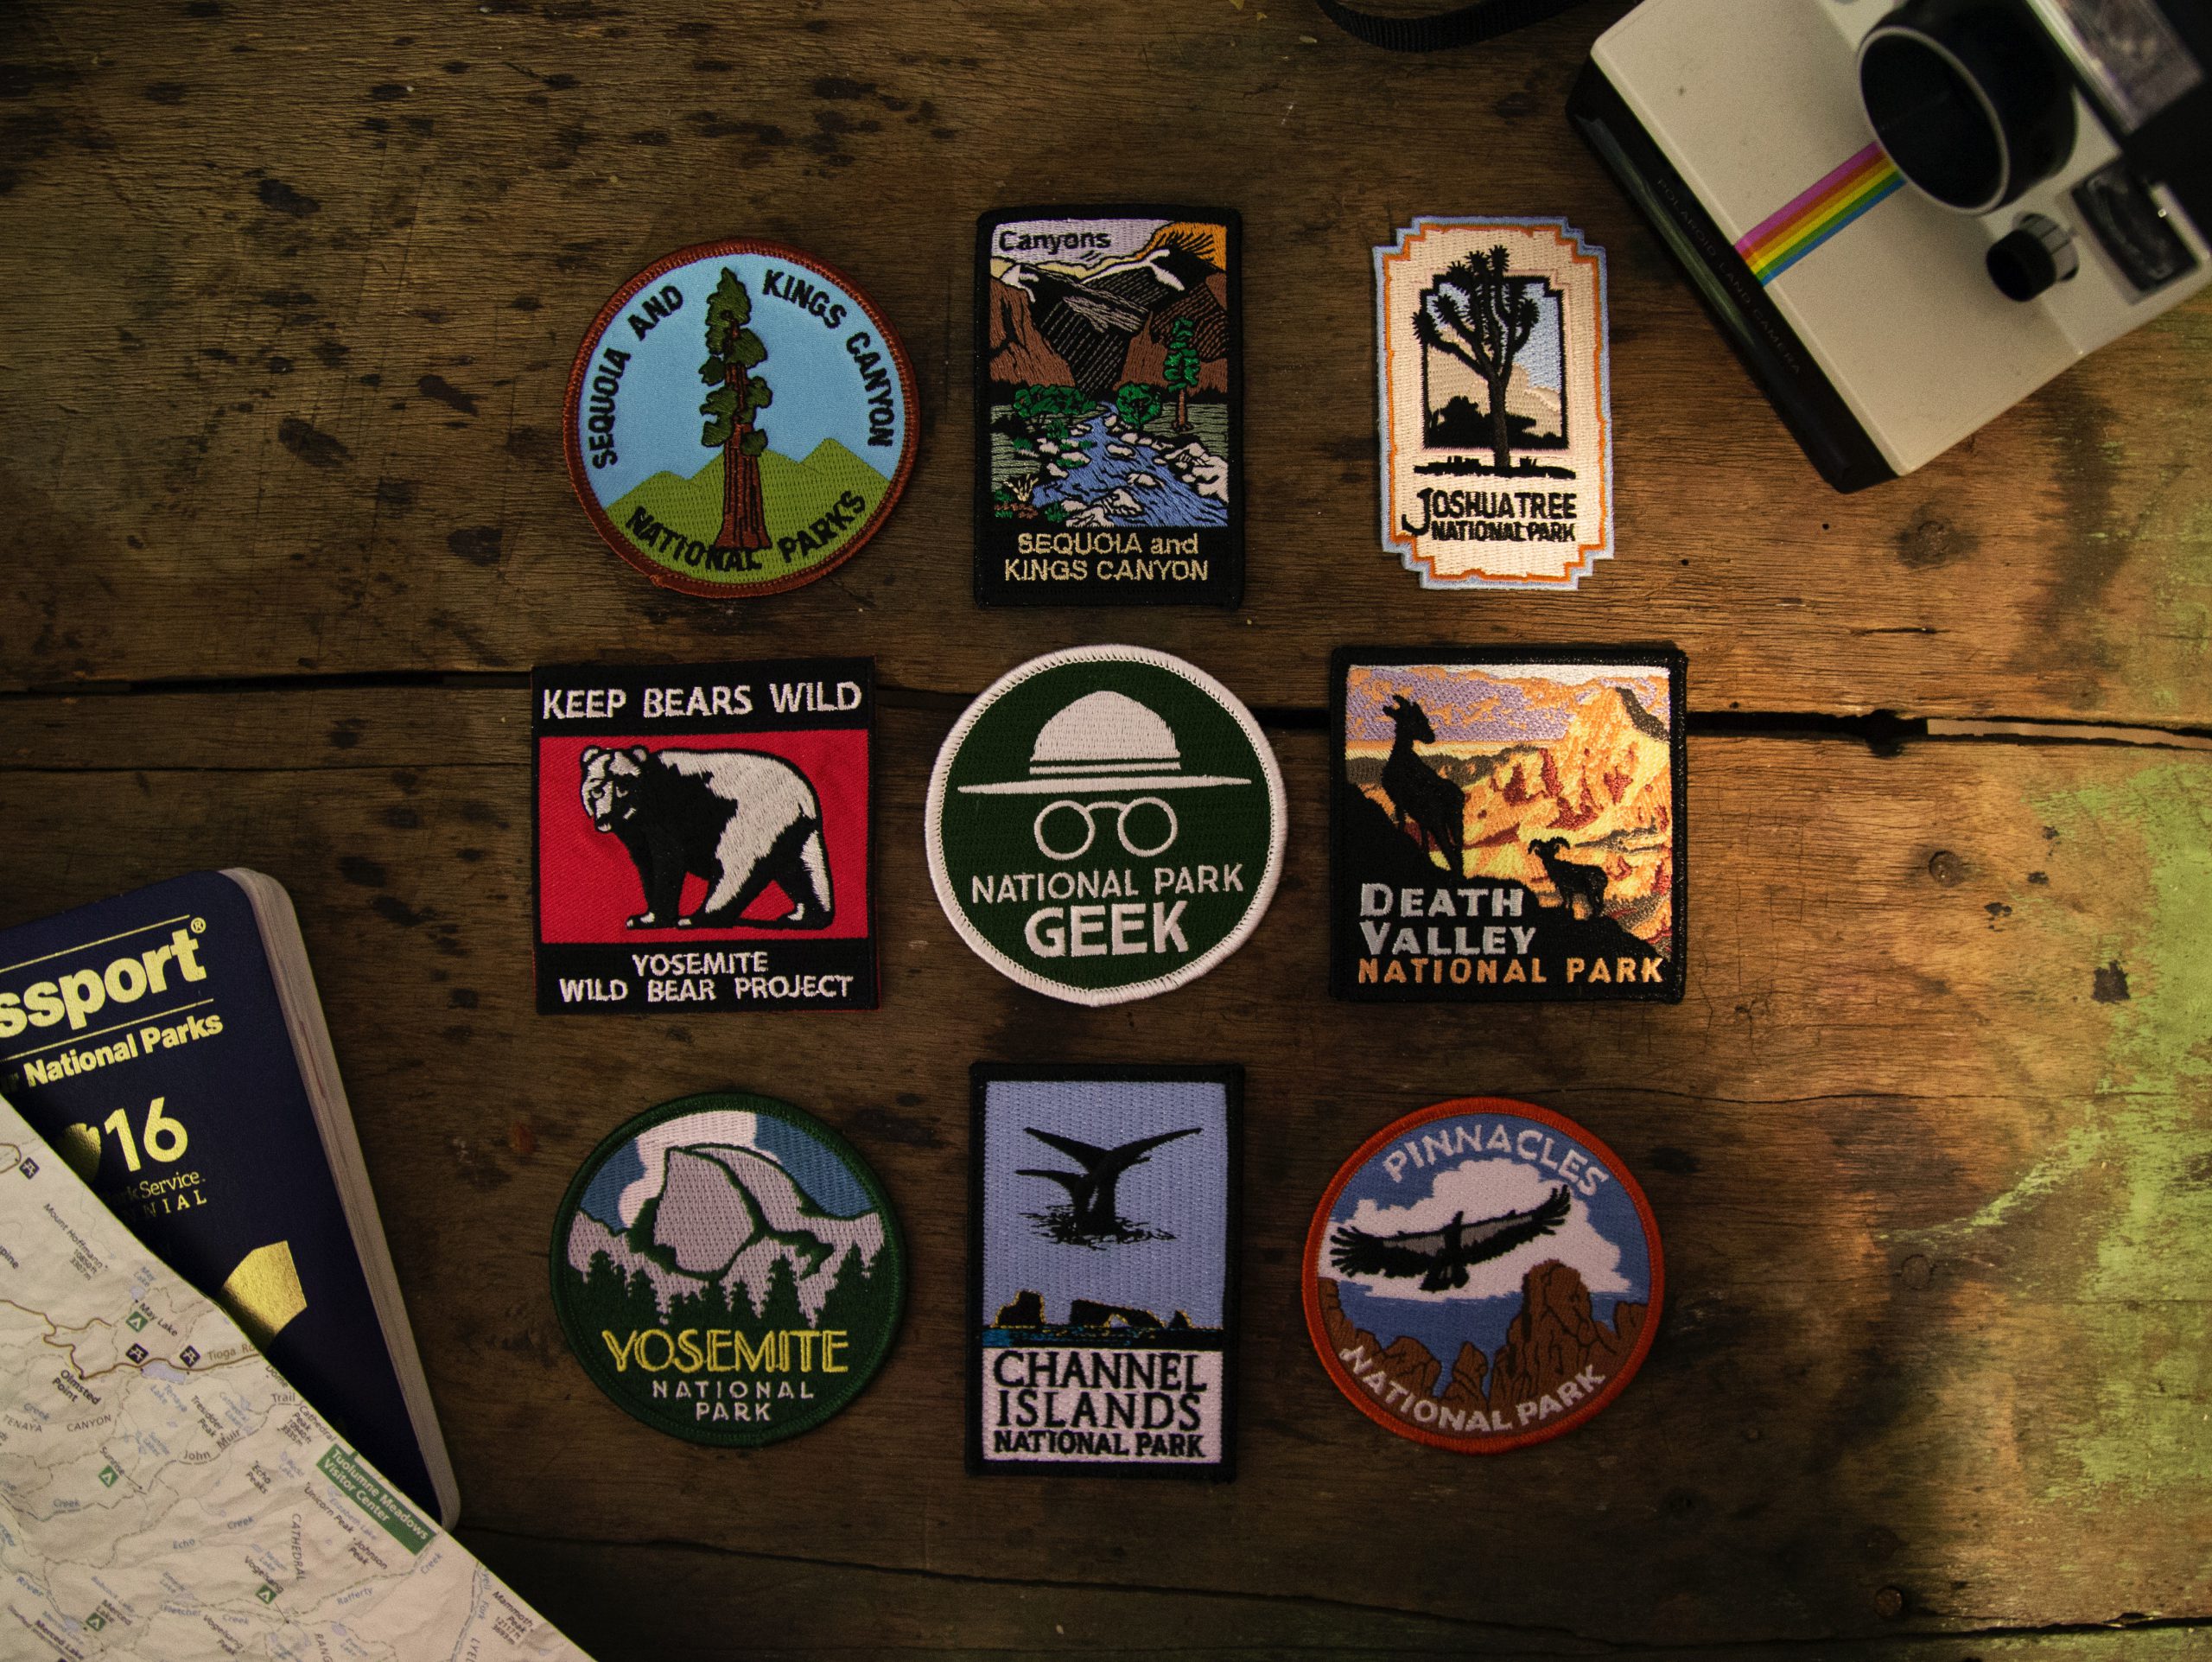
What is an embroidery patch?
Patches, unlike appliques, are embroiderys that when finished are sewn, pinned or sticked to another garment. There are two types of patches: On the one hand, we have patches in which the surface is not entirely made of thread. They are also composed of a base fabric that gives color to the background or a part of it. Thus, the embroidery is made on a piece of fabric with its stabilizer. We have the option of buying “empty” premade patches that can be found in different sizes, shapes and colours. This will help us avoid wasting too much cloth and save time. But keep in mind that it will have a higher cost, and you’ll have to consider that patch’s sizes and colors are going to be predetermined. On the other hand, we have patches whose surface is 100% composed of thread, and are not made on a base fabric. The embroidery is made directly on the stabilizer. Both the background and the drawing or pattern of the design are made of embroidery thread. The amount of stitches needed is much higher than the required by the other type of patch. I have some tips for you to keep in mind when making patches:- For the first type of patches, I recommend to use a heavy twill fabric, such as denim. The stabilizer will go under it and we will embroider on them, as always. Once the border is finished, we will get rid of the excess of both fabrics.
- Both types of patches require a thick outline, such as the Merrow border, Satin stitch or Zig Zag stitch border. These will make it easy to remove all the excess of stabilizer when the embroidery is finished.
- Note that the file edition required for these two styles of patches is different.
There are many embroiderers who are strictly dedicated to making patches, because they are inexpensive to produce and have a huge market to exploit: from urban tribes to members of the military, this versatile accessory is wanted by all types of people.
What is 3D or puff embroidery?
This technique gives a very interesting finish. Like the previous two, we can combine them to highlight some aspect of our design, for example a name, the number of a football T-shirt, among many other possibilities.
What is this puffy embroidery about? It’s easier than it looks! The secret is to cover our design with a foam layer. This sheet will be placed on the fabric to be embroidered (you can fix it with adhesive). Our machine will cut the foam according to the design we are making. In other words, the foam will be “trapped” between the fabric and the stitches of our embroidery, so this will result in a “puffed” or filled appearance.
I’d like to share with you some recommendations for 3D embroidery:
- This designs need to use a much higher density of stitches than a regular embroidery design, thus it will require the correct edition. If you would like to get some help with a design, fill out this form!
- Use SES or round tip needles.
- You will need to use the Zig Zag or column stitch. Also, it’s necessary to avoid filling and / or reinforcement stitches that would crush the foam, nullifying the desired effect.
- If you’re looking for a puffier look, make sure you’re using a stiff base fabric, like jean. You can overlap two pieces of foam to achieve the effect.
- Try to use foam of the same color as the thread, so that it does not stand out underneath. Use a thick 30 weight thread, to ensure total coverage of the foam layer.