Hi embroiderers! I hope you’re doing well.
On this opportunity, I want to tell you a little about the different
embroidery stitches that I like to use, both for creating thick borders and filling big sectors with thread. But before we start, I’d like to share with you the
definition of the embroidery stitch according to
Wikipedia:
“A stitch in the context of embroidery or hand-sewing is defined as the movement of the embroidery needle from the back of the fibre to the front side and back to the back side. The thread stroke on the front side produced by this is also called stitch. In the context of embroidery, an embroidery stitch means one or more stitches that are always executed in the same way, forming a figure. Embroidery stitches are also called stitches for short.
Embroidery stitches are the smallest units in embroidery. Embroidery patterns are formed by doing many embroidery stitches, either all the same or different ones, either following a counting chart on paper, following a design painted on the fabric or even working freehand.”
I’d like to add something to this definition:
embroidery patterns are also designs that we can create through our embroidery software! All the embroidery designs that you can
download from our page, are patterns made with different stitches that shape a certain design. Let’s talk about some of my favorites:
Classic stitches: the Satin stitch and the ZigZag stitch
This are the most common, most used and more useful stitches for every kind of work. Every embroiderer have used at least one of these! Let’s talk a bit about them:
Satin stitch:
Almost everyone know this stitch. It’s a
classic, thick stitch that is frequently seen on monograms, appliqués, patches, and whatnot, because it is
very versatile. It gives a
perfect uniform effect, its useful to cover the borders of the fabric on appliques, and always gives an
aesthetic and professional finish.
The satin stitch is a series of flat stitches that are
used to completely cover a section of the background fabric.
It is important to
use good threads to produce acceptable satin stitch, because
low quality threads usually do not sit straight, and
produce an uneven result. Go to our
supply section to find
the best quality threads!
As much as I love this stitch, I have to tell you its biggest disadvantage: because of its density, sometimes
it takes a really long time to fill a big section with this stitch, and even though it allows you to create a really smooth look on backgrounds, I rather not use this stitch for filling. We’ll talk more about the
best filling stitches below!
ZigZag stitch:
A zigzag stitch is a
back-and-forth stitch used to sew where a straight stitch will not suffice, such as in reinforcing buttonholes, in stitching stretchable fabrics, and in joining different work pieces edge-to-edge.
Used
in embroidery, we can alter the width and length of the stitch to create many variations and uses. A multi stitch zigzag stitch makes three short stitches where the normal zig-zag makes only one; this works great as a stretch stitch.
A zig zag stitch has
flexibility that makes it
very valuable when sewing or embroidering stretchy fabrics like knits and stretch jeans. A narrow zig zag stitch will stretch with the fabric. It is
also useful to repair and mend tears: If you have a long straight tear in your garment you can mend it by cutting away the stray frayed threads, putting the edges together, and with a stabilizer underneath the tear make the zig zag stitch joining the torn edges together.
This stitch is
also used as an overlay stitch for appliqués. The thread has to be of the same color than the satin stitch upper layer, so that it does not stand out. Also, the closely done zig zag stitch resembles a satin stitch, and is usually used to attach the appliqué pieces on to the base fabric; you can also use a multi zig zag stitch for this. If you want to know more about
how to make an applique, visit our related post here!
The 5 most used Filling Stitches
There are many different styles of filling stitches, and each of them can give a
unique look and a
contrasting texture. These are the 5 most used:
- Satin stitch: yes, I know! This stitch is the favorite of many, even for filling. Through the embroidery software we can order our machine to follow a certain pattern, give the stitches more than one direction or angle to develop an exclusive texture for each work. For this type of filling, the stitches go from border to border, there are no stitches in between.
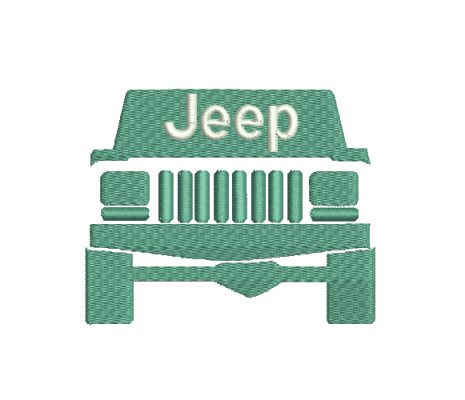
- Step fill: unlike the satin stitch, this fill is composed of many in-between stitches, giving the design a choppy texture, and as the name suggests, each “line” of thread is made by tiny “steps”. With the embroidery design software you can add a direction and a pattern.
- Piping fill: this filling uses the shape of the design as a pattern. With it you can create amazing appearances when the design has circles and curves.
- Net fill: this filling creates a net, which we can modify by changing its angle and the size of its cells. The outcome will vary with our decision of creating a more bushy texture with litle cells, or a lighter texture with bigger ones.
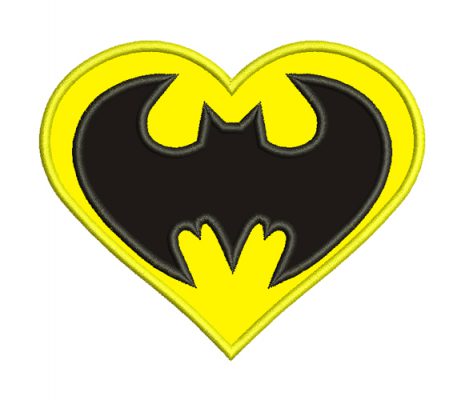
- Cross stitch: this stitch looks great when multiple colors are combined. When used as a filling stitch, the gaps or background are filled with little crosses. This stitch is also used as a pattern on a background of a contrasting color, frequently used in carpets, rugs and tablecloths. I like to use it as a filling stitch in some pop culture designs, because it gives a pixelated look that fits perfectly with the theme.
Vintage Stitches
These are pretty,
oldish looking stitches, with a
handmade feel that I totally love! Some of them have the convenient
advantage of taking little time even for filling large areas. That and the informal,
handcrafted look they give are perfect for some designs.
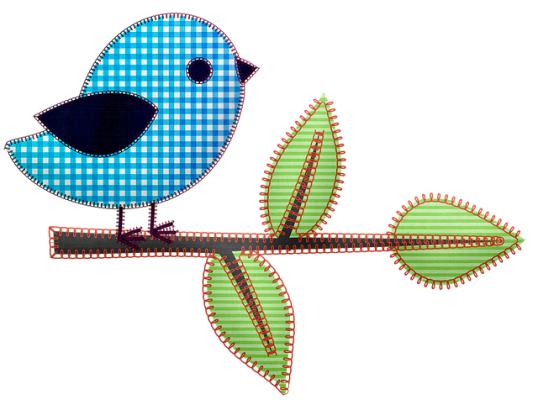
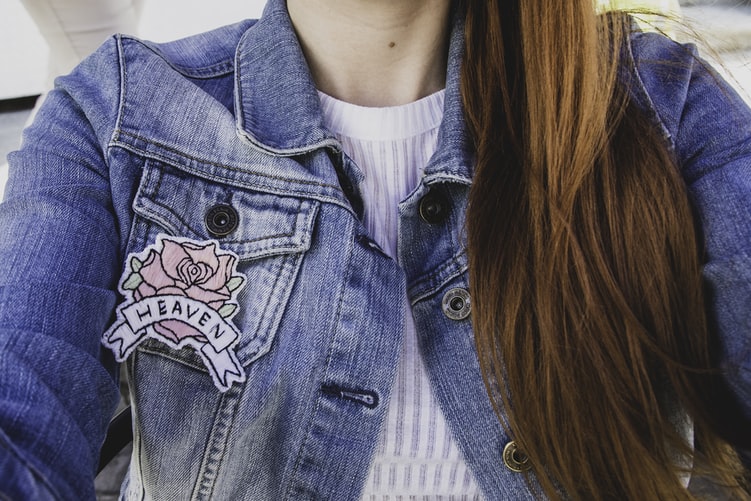
- Blancket stitch: Use this stich to get a handcrafted look on appliqués. Personally I feel like my nanny did it! The fabric borders are not totally covered by thread, unlike when we attach an appliqué with the satin stitch. I recommend to use a medium cut away stabilizer (buy it here!) because a tear away stabilizer might unravel the borders. I really like to use this stitch on flower appliqués.
- Bean stitch /triple bean: It consists of a line of stitches in which each stitch is worked over 3 or more times with the same penetration points in order to produce a large, thick stitch at each position. This stich looks really cute on monograms and letters. We have to be careful when using the bean stitch on a delicate fabric, because introducing the needle 3 times on the very same spot can make a little hole. If you want to use this stitch for attaching an appliqué to a garment, leave a few millimeters of fabric excess around the embroidery to avoid rips and tears.
- Sketch stitch: This is a low density filling stitch, through which you can see the background fabric. The size of the gaps, like with the net fill, are defined with the embroidery software. The sketch stitch takes less time and less amount of stitches, to create a different look. I find this style perfect for children’s designs, because it reminds me of a drawing colored by a child.
Well,
this is all for today’s lesson! I hope I have contributed to your knowledge of embroidery by expanding your possibilities to create, combining new styles and improving your designs. Would you like to start adding these stitches in your designs? Check our
guide about how to start using embroidery software!
Also, if you have any
requests of anything you would like me to talk about or even make a tutorial, let me know on the comments below!
Sew you soon!
Mary